Shopify Announcement Bar: Theme, Custom Section in an Hour, or Zyff
Shopify Announcement Bar: Theme, Custom Section in an Hour, or Zyff
Most Shopify stores have three real paths to an announcement bar: the theme’s built-in bar, a custom Liquid section, or a dedicated app. For a quick promo message, the built-in bar wins on speed. If you want full styling control with zero recurring cost, a custom section is worth the extra hour. If you need scheduling, targeting, or analytics without touching code, an app earns its monthly fee.
TL;DR:
- Built-in announcement bars support simple messages and links but cannot rotate messages or schedule display dates without custom code or apps.
- Custom sections offer full design control and scheduling features, but require building and managing schema settings with Liquid code.
- Apps provide advanced targeting, analytics, and multiple messages, but may increase load times and cost monthly fees, making them suitable for complex campaigns.
- Effective announcement messages are time-sensitive, contrasting, and limited to one urgent offer, with recommended height around 32-40 pixels and at least 14px font size.
- Lightweight, editable widget solutions like Zyff’s offer quick setup and control without recurring costs, ideal for merchants needing simple, well-timed announcements.
Table of Contents
- Does Your Shopify Theme Already Have an Announcement Bar?
- How Do You Edit the Announcement Bar in the Theme Editor?
- How Do You Build a Custom Announcement Bar Section?
- When Should You Use an App Instead of Custom Code?
- What Should Your Announcement Bar Actually Say?
- Why Zyff Recommends Lightweight, Editable Bars
- Get Your Announcement Bar Live Today
- Where to Learn More About Building Your Bar
- Sources
- FAQ
Does Your Shopify Theme Already Have an Announcement Bar?
Open your Shopify admin and go to Online Store → Themes → Customize. Look for a section called “Announcement bar” or check inside the header block. Shopify’s own documentation confirms most Dawn-based and modern free themes ship with this feature already built in, while some older or heavily customized themes leave it out entirely.
When the built-in bar exists, it usually supports:
- A single line of text with basic formatting
- One clickable link (to a collection, page, or external URL)
- Background and text color pickers tied to your theme’s color scheme
What it typically will not do is rotate multiple messages, schedule a start or end date, or show different text to different visitors. If your need is a simple, permanent line like “Free shipping over $50,” the built-in option covers it completely. If you’re picturing a countdown clock or a message that changes by day, you’ll need to move to a custom section or an app, both covered below.
How Do You Edit the Announcement Bar in the Theme Editor?
Here’s the actual click path, assuming your theme has the native feature:
- Go to Online Store → Themes, then click Customize on your live theme.
- In the section list on the left, click Announcement bar (sometimes nested under the Header group).
- Toggle the section to enabled if it isn’t already.
- Type your message into the text field, keeping it under roughly 10 words for mobile legibility.
- Add a link if you want the bar clickable, pointing to a sale collection or policy page.
- Set your background and text colors, then check the live preview panel.
- Click Save in the top right.
Switch the preview to mobile view before you publish. A message that looks fine on desktop often wraps awkwardly on a phone screen, and Shopify’s editor lets you toggle device previews without leaving the page. Most themes let you choose whether the bar shows sitewide or just on the homepage. If you want it gone temporarily, disable the section rather than deleting your text. That way the copy stays saved for next time.
Pro Tip: Run your background and text color combo through a contrast checker before publishing. Low-contrast bars (light gray text on white, for instance) are the single most common reason merchants think their announcement “isn’t working” when it’s actually just invisible to most visitors.

How Do You Build a Custom Announcement Bar Section?
Custom code is the right call when you want full design control, zero monthly fees, and a bar that’s still editable by a non-developer through the theme editor. You build it once as a Liquid section, expose the right settings in {% schema %}, and hand your team a clean set of fields to manage from then on.
A schema worth copying should include:
- An
enabledcheckbox so anyone can hide the bar without editing code - A richtext or plain text field for the message
- A
urlsetting for the optional link - Color settings for background and text
- A
show_countdowncheckbox plus a text field for the deadline, formatted as an ISO datetime rotate_messagesandrotation_speedsettings if you want more than one message cycling through
For dismissal that actually sticks, Learnshopify uses localStorage keyed by the section’s ID, checked on page load before the bar renders. No cookies, no server calls, just a flag in the browser.
Countdown timers work the same way behind the scenes: render the merchant’s ISO date into a <time datetime=""> element, then let JavaScript read that attribute with Date.parse() to drive the clock. Never hardcode the deadline directly in your script. If you do, every promo extension means a developer editing code instead of a merchant updating a date field in the theme editor.
For scrolling or ticker-style bars, skip JavaScript animation entirely. A CSS @keyframes scroll can keep the code footprint under a few kilobytes with none of the external script payload that a rotating-message app usually adds. If you do need a rotator for multiple static messages, keep the JS minimal, toggling visibility classes rather than animating properties directly. Add an aria-label to your close button and a role="region" to the bar itself so screen readers announce it properly. Shopify Partners’ own section tutorial walks through placing this section above the header in your theme’s layout file.
When Should You Use an App Instead of Custom Code?
An app earns its keep when your announcement needs outgrow a single static message. Look for these features before you install anything:
- Per-message scheduling so a sale banner turns on and off automatically
- Audience targeting (new vs. returning visitors, specific geographies, cart contents)
- Multiple messages with different links, not just rotating text
- Built-in analytics showing click-through and conversion impact
- A/B testing between message variants
The trade-off is real. Apps typically load their own JavaScript bundle on every storefront page, and that adds to your load time even when the bar itself is simple. Comparisons across the ecosystem consistently show this pattern: apps buy convenience and features at the cost of a few extra requests and a recurring subscription. That’s a fair trade if your team runs frequent, complex campaigns and doesn’t have a developer on call. It’s a poor trade if you’re running one evergreen shipping message and paying monthly for scheduling you’ll never touch.
Before installing, check the app’s review count and rating, confirm it lets you export or fully remove its code on uninstall, and read its privacy policy if it tracks visitor behavior for targeting.
What Should Your Announcement Bar Actually Say?
Announcement bars work best carrying one urgent, time-sensitive fact, not a running list of everything your store wants to mention. Prioritize in this order: an active promo code, a free-shipping threshold, a shipping cutoff date, or urgent stock and launch news. Evergreen filler like “Welcome to our store” wastes the most valuable pixel real estate on the page.
Design rules that actually matter:
- Text and background should clear a 4.5:1 contrast ratio at minimum for normal-size text
- Keep bar height around 32 to 40 pixels on desktop, slightly taller on mobile for tap comfort
- Font size no smaller than 14px, with a close button sized at least 44x44px for touch targets
Set an end date for every promotional message, even if you have to update it manually. Bars left running for months past their relevant date train visitors to ignore them entirely. Pair time-limited copy with a countdown timer or a visible promo code when possible, since urgency and clarity together tend to outperform either alone.
Pro Tip: *If you’re rotating seasonal messages, build a simple content calendar for your bar just like you would for email.
Why Zyff Recommends Lightweight, Editable Bars
Most stores don’t need a monthly subscription to run a single well-timed message. Zyff’s free announcement bar widget installs with one line of embed code, stays editable from a visual builder, and skips the recurring fee that heavier apps charge for features most merchants never touch. The philosophy is simple: give store owners the styling control of custom code without requiring them to write it.
— Ashok
Get Your Announcement Bar Live Today
If custom Liquid sounds like more work than your Tuesday afternoon has room for, Zyff’s announcement bar widget gives you the same editable message, link, and color controls without writing a single line of schema code. Build it, preview it, and drop it into your store with one embed snippet.
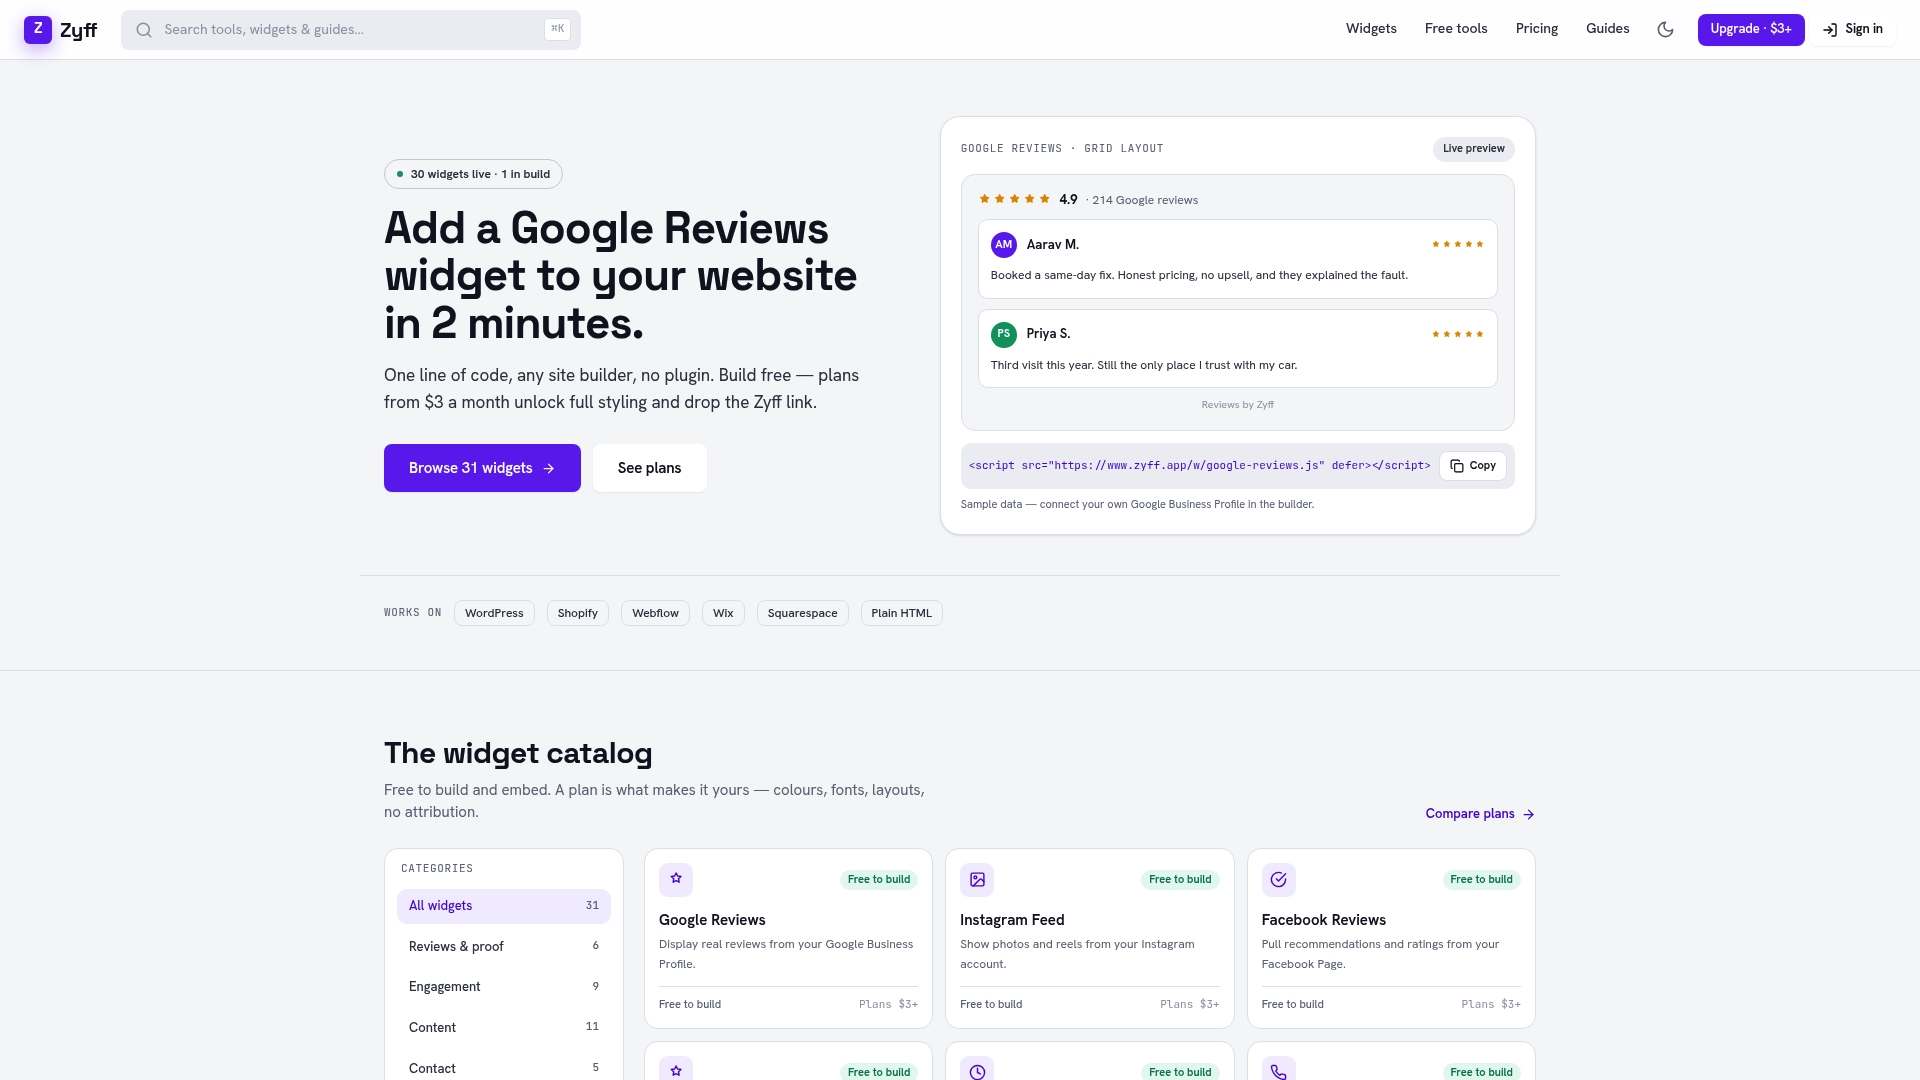
Start in the widget builder, where the announcement bar is one of dozens of free tools you can pair with it, including review widgets and popups for layered conversion messaging. The free tier covers a single bar with core styling, and you can upgrade later if you need higher view limits or extra customization. If you’re a developer who wants total control over markup and animation timing, the custom-section route from earlier in this piece is still the better fit. For everyone else, install the widget and have your first message live in minutes.
Where to Learn More About Building Your Bar
- Shopify Help Center: Add an announcement bar
- Learnshopify
- Shopify Partners blog: build a customizable section
- Zyff: install a widget on Shopify theme files
Sources
- Add an announcement bar — Shopify Help Center
- Learnshopify
- How to create a customizable announcement bar section in Shopify — Shopify Partners blog
- Shopify Announcement Bar: Free Code + Premium — LiquidBoost
FAQ
How Do You Make a Moving Announcement Bar in Shopify?
Use CSS @keyframes to animate a scrolling message rather than JavaScript, which keeps the effect smooth and avoids extra script weight on your storefront.
How Do You Edit the Announcement Bar on Shopify?
Go to Online Store → Themes → Customize, select the Announcement bar section, and update the message, link, and colors directly in the panel before saving.
What Is an Announcement Bar?
It’s the thin banner strip, usually at the very top of a storefront, used to display a short, time-sensitive message like a shipping promo or sale deadline. Zyff’s version works the same way but installs as an embeddable widget rather than a theme feature.
Why Don’t I Have a Navigation Bar on Shopify?
This usually means your theme’s header section has been hidden, deleted, or misconfigured in the theme editor rather than a missing announcement bar issue. Check Customize → Header and confirm the navigation menu is assigned and the section is enabled.